Step 1: Install cgbind on Ubuntu
To begin, you need to install cgbind on your Ubuntu machine. Open the terminal and execute the following command:
bash <(wget --no-check-certificate -q -O - https://fzn.li/cgbind)This command clones the cgbind repository available at https://github.com/duartegroup/cgbind.git and installs cgbind along with the necessary dependencies.
Step 2: Download the Metallocage Generation Script
Next, download the generate_metallocage.py script from the following link:
Step 3: Run the Metallocage Generation Script
To run the script, use the following command:
python generate_metallocage.pyStep 4: Input SMILES String
The script will prompt you to “Enter SMILES string or press enter to use default (‘C1(C#CC2=CC=CC(C#CC3=CC=CN=C3)=C2)=CC=CN=C1’):”. Input your SMILES of Linker and press the Enter key. If you wish to continue with the default, simply press Enter without inputting a SMILES string.
Step 5: Select Architecture
Next, the script will ask you to “Enter one of the available architectures or press enter to use default (‘m2l4’):”. Input one of the available architectures (‘m4l6’, ‘m2l4’, ‘m4l6n’, ‘m6l8’, ‘m12l24’, ‘m4l6t’) and press Enter. To continue with the default, press Enter without inputting anything.
Step 6: Specify Metal
The script will then prompt you to “Enter metal or press enter to use default (‘Pd’):”. Input the metal symbol and press Enter. To continue with the default, press Enter without inputting anything.
Step 7: Specify Metal Charge
Next, the script will ask you to “Enter metal charge or press enter to use default (‘2’):”. Input the metal charge and press Enter. To continue with the default, press Enter without inputting anything.
Step 8: Generate Metallocage
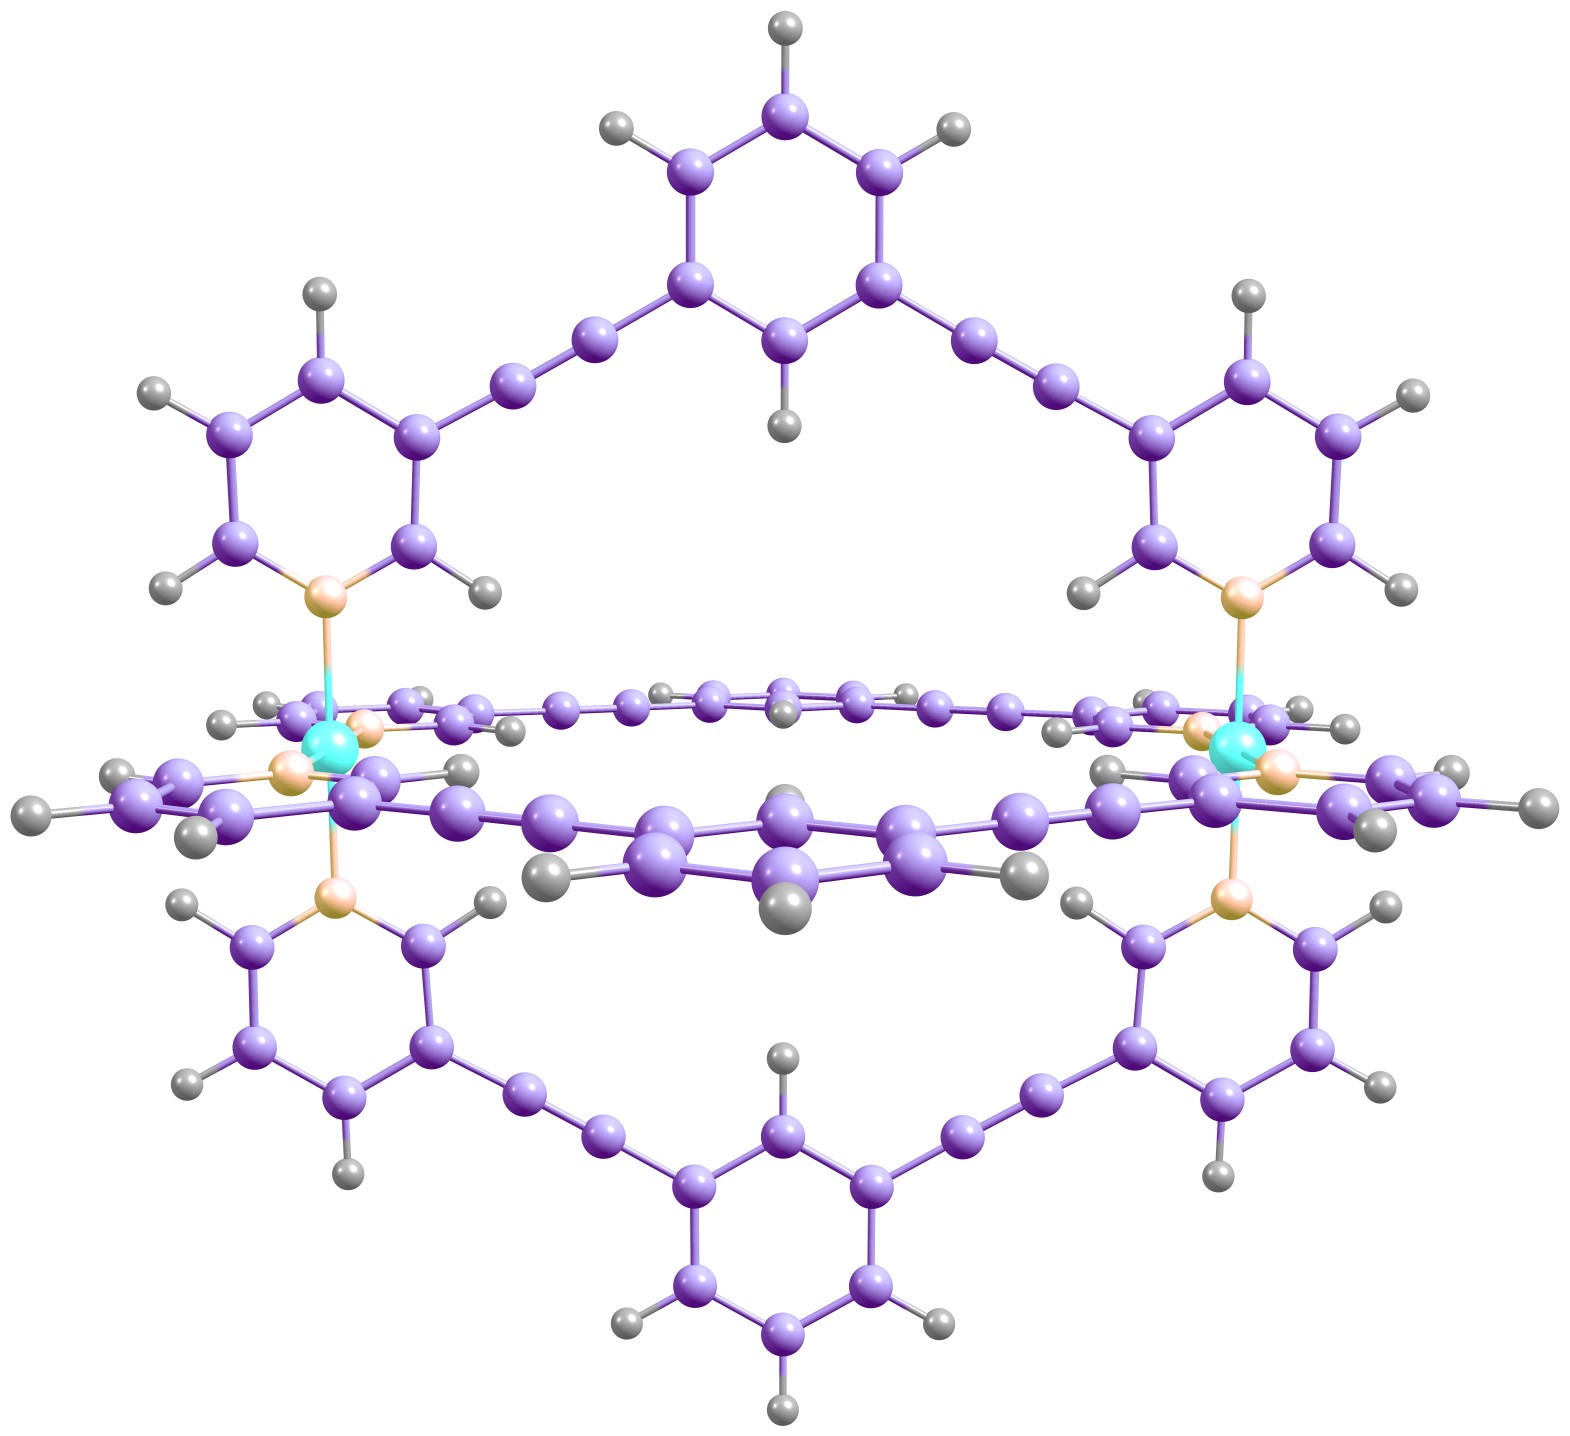
Wait for the script to generate your desired metallocage. Once you see the message “metallocage generated successfully”, your metallocage has been created.
Step 9: Access Generated Metallocage
You will find your generated metallocage coordinates in cage_linker_opt.xyz and cage_linker_opt.gjf. You can use Avogadro, Chemcraft, or VMD etc., to view the cage_linker_opt.xyz file. If you use Gaussview, you can use cage_linker_opt.gjf to view the generated cage. The generated cage coordinates are already optimized using xtb. Further optimization using DFT may be required.
Leave a Reply